
Getting Started with the Egnyte Public API
Overview
The Egnyte Public API enables developers to build applications that interact with an Egnyte domain programmatically. Using these APIs, you can integrate Egnyte with internal systems, automate workflows, build custom applications, and extend Egnyte functionality into your own products.
Common use cases include:
- Automating file and folder management
- Integrating Egnyte with business systems such as CRM, ERP, or DAM platforms
- Building workflow automation
- Creating custom tools that interact with Egnyte content and metadata
- Developing partner integrations for Egnyte customers
The Egnyte API is built on REST principles, uses JSON responses, and is secured through OAuth 2.0 authentication.
Most developers can make their first successful API request in just a few minutes by following the steps below.
Requesting an API Key
To authenticate with the Egnyte API, you must first create an API key from the Egnyte Developer Portal. This key is linked to your domain and allows it to request authentication tokens. Before creating an API key, please ensure the following requirements are met:
Prerequisites
- Eligible Plan: API access is only available to active Egnyte customers on eligible plans. Egnyte domains on Trial, Legacy Office, or Team plans are not supported. Contact your account manager or Egnyte Sales team to upgrade to the latest plan.
- Admin Access: API keys are restricted to Egnyte domain administrators. Please ensure you are requesting a key with an Egnyte Domain Admin account. API keys requested by a non-admin will be declined.
- Valid Admin Email: The email address must be associated with an active domain administrator account excluding Service Accounts for this domain.
- Egnyte Customers: If you are not an Egnyte customer and working on a third-party application integration made for the public, please fill out this form to request a developer domain.
Note: Egnyte migrated its API management platform from Mashery to Apigee on October 1st, 2025. If you previously used the Egnyte API on Mashery-based Egnyte Developers Portal, you must create a new account using the same email address to access your previously created API keys.
1. Preferred Method:
Egnyte admins can generate API credentials (Client ID and Client Secret) directly from the Egnyte Apps & Integrations store.
Prerequisites
- The user must be an Egnyte Admin
- Trial, Platform Team and Legacy Connect (Business, Office & Team) plans will not have access to this feature. Use Current Plan to review the subscription and make plan changes
- Refer to Usage Restrictions by Plan for API calls limits and restrictions
- The Egnyte domain must not have reached the maximum of 5 API keys. If the limit has been reached, contact another admin or manage keys at developers.egnyte.com
Generate a New API Key
- Navigate to the Egnyte Apps & Integrations store in the admin console. Find the Create API Key tile at the bottom of the page.
- Click the Create Keys button within the tile.
- Select an Application Type. If Public Application is selected, enter the Redirect URI in the field provided.
- Click Generate API Key and it generates the API key automatically. The Client ID and Client Secret are displayed under App Credentials.
- Copy the credentials. The Client Secret can be revealed again later if needed.
2. Alternative Method: Register for a Developer Account
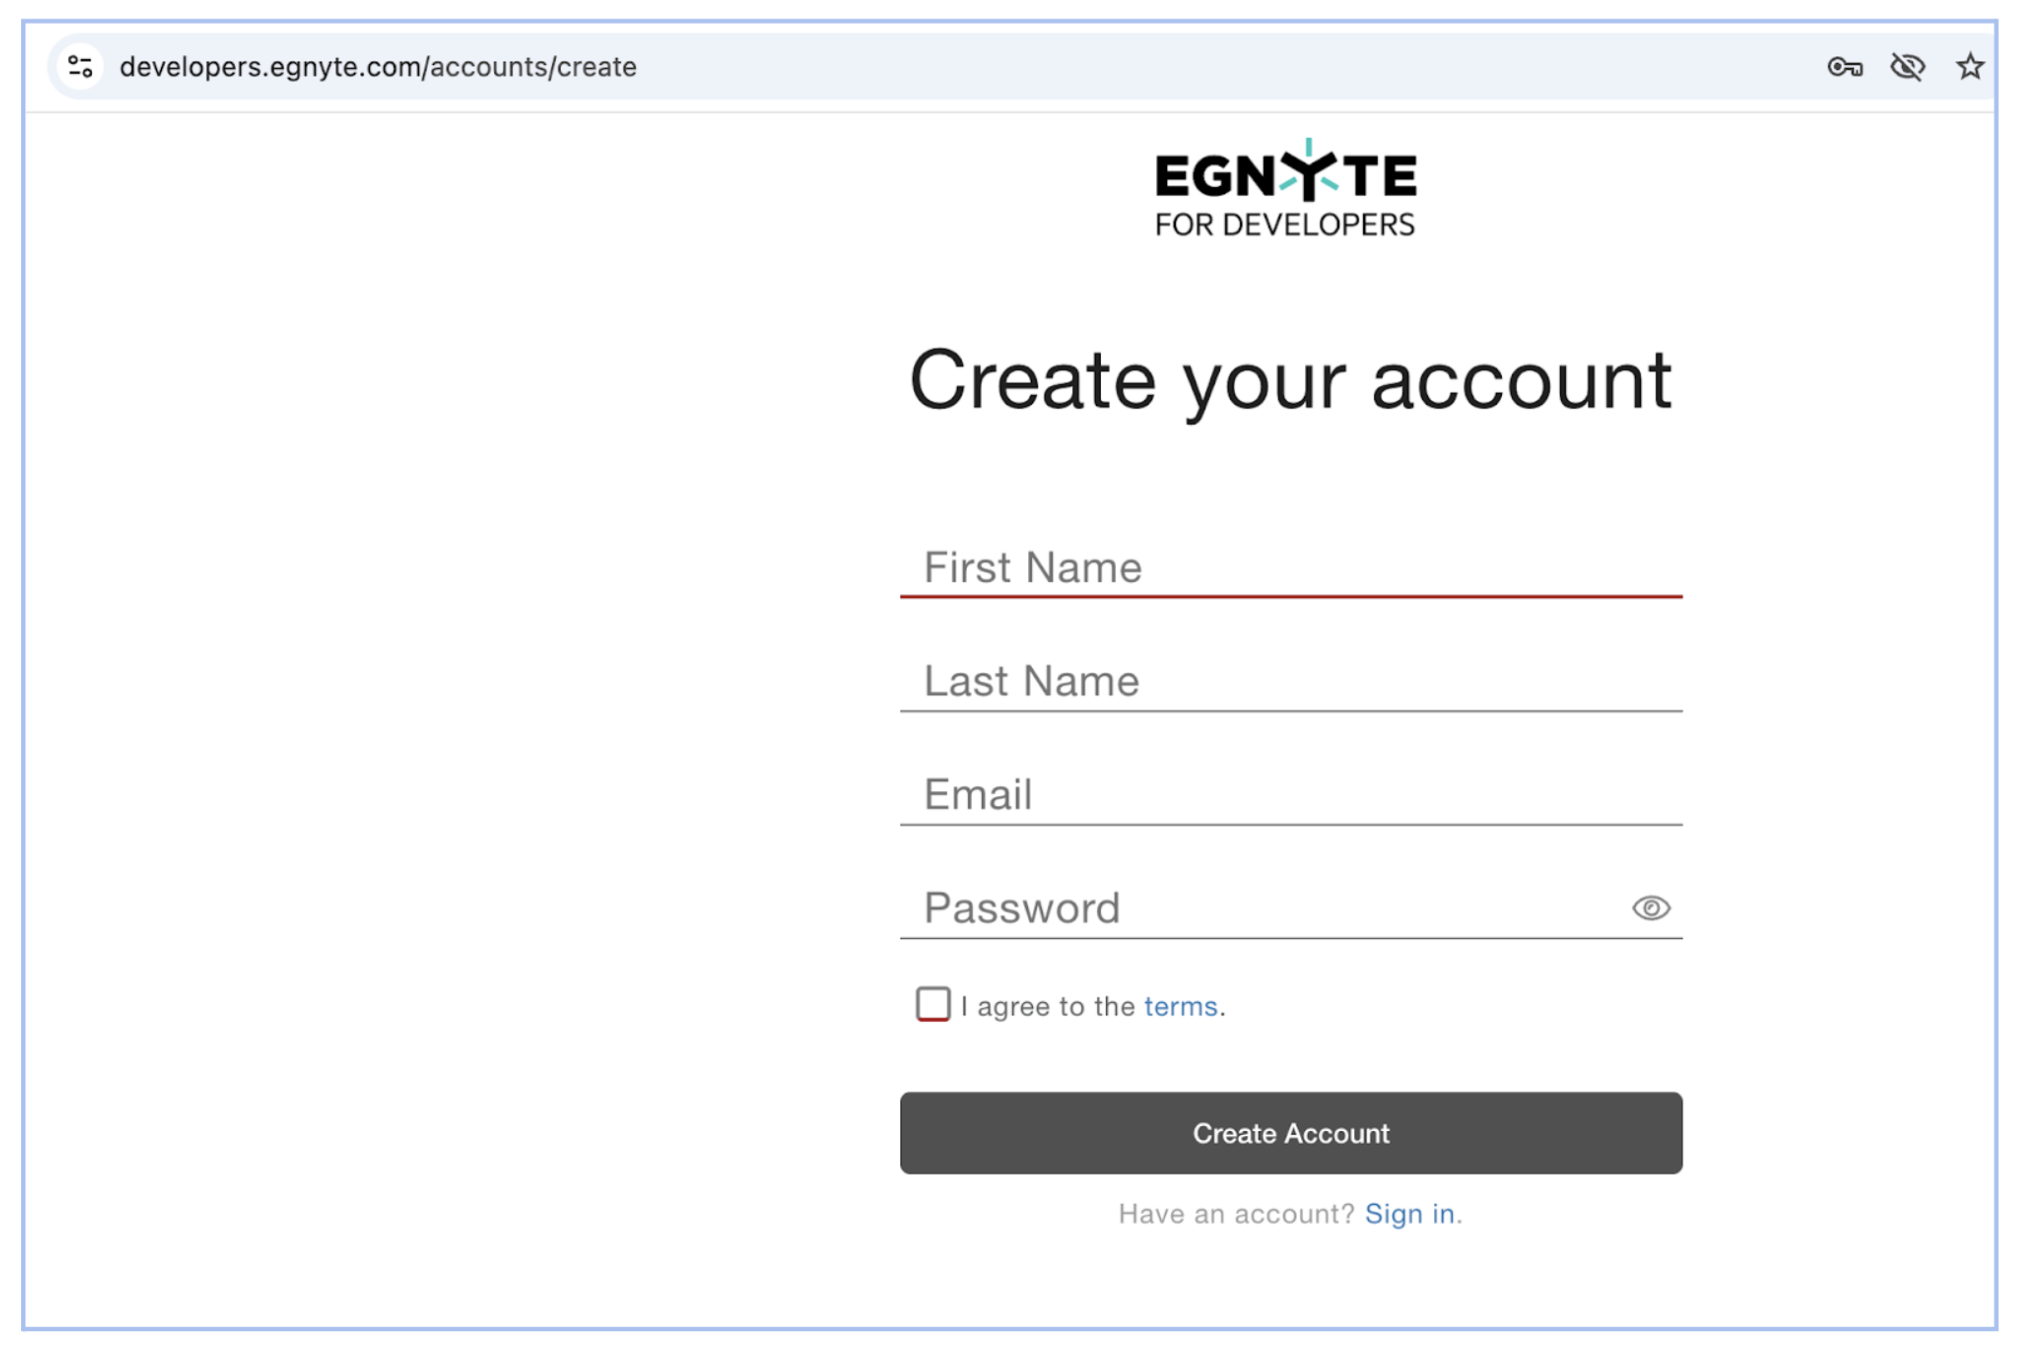
Step 1: Register for a Developer Account
To start using the Public APIs, register for a developer account and create an application.

Note: The email you enter here must be linked with an active Egnyte domain administrator.
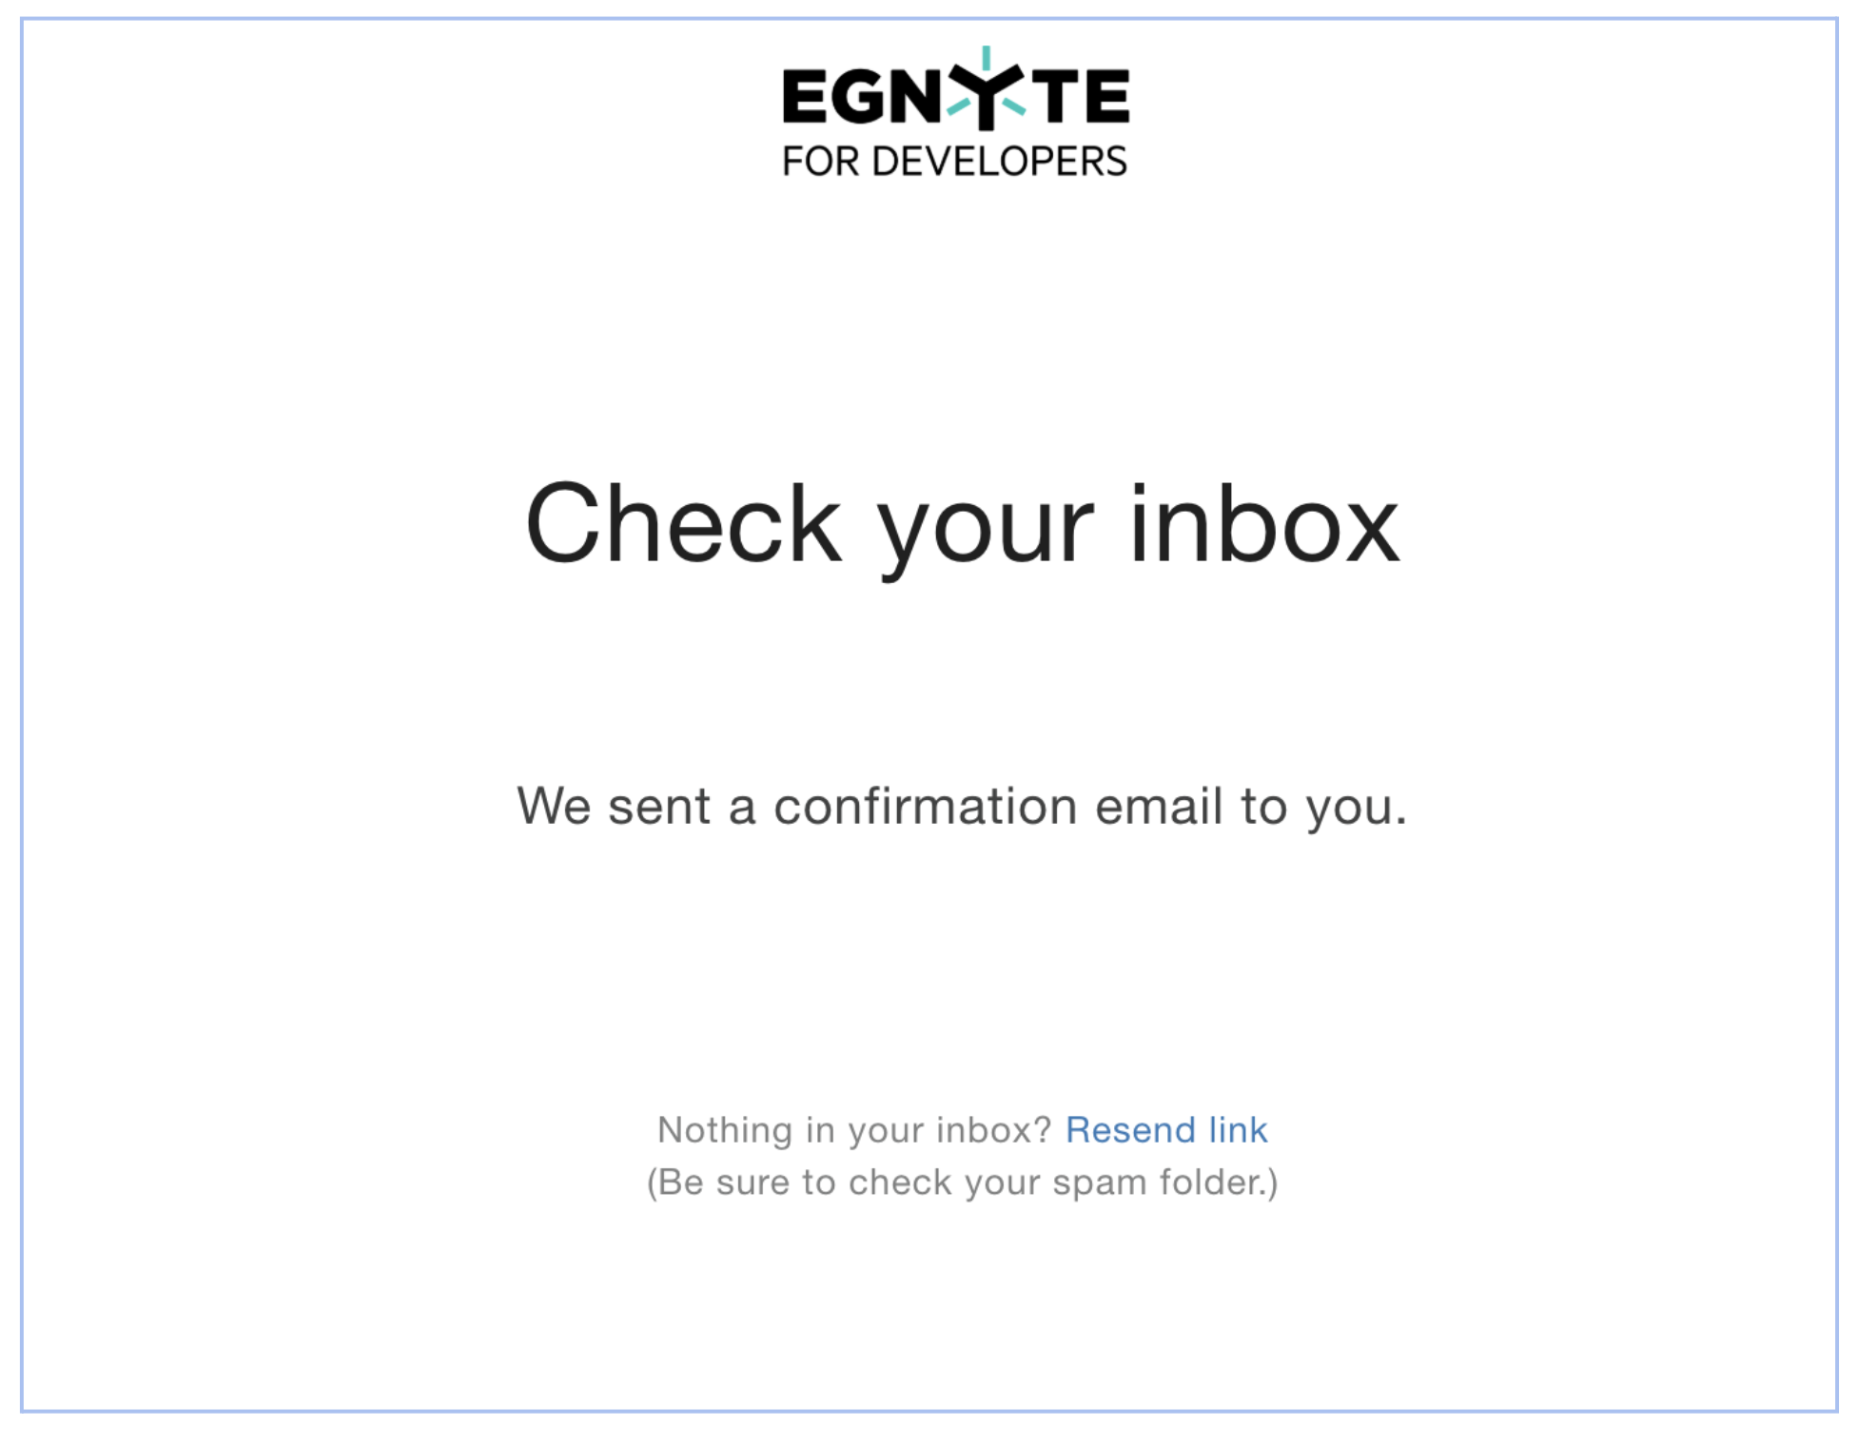
Step 2: Confirm Your Email
Click on the confirmation link to get access to developer portal:
Step 3: Access Your Apps
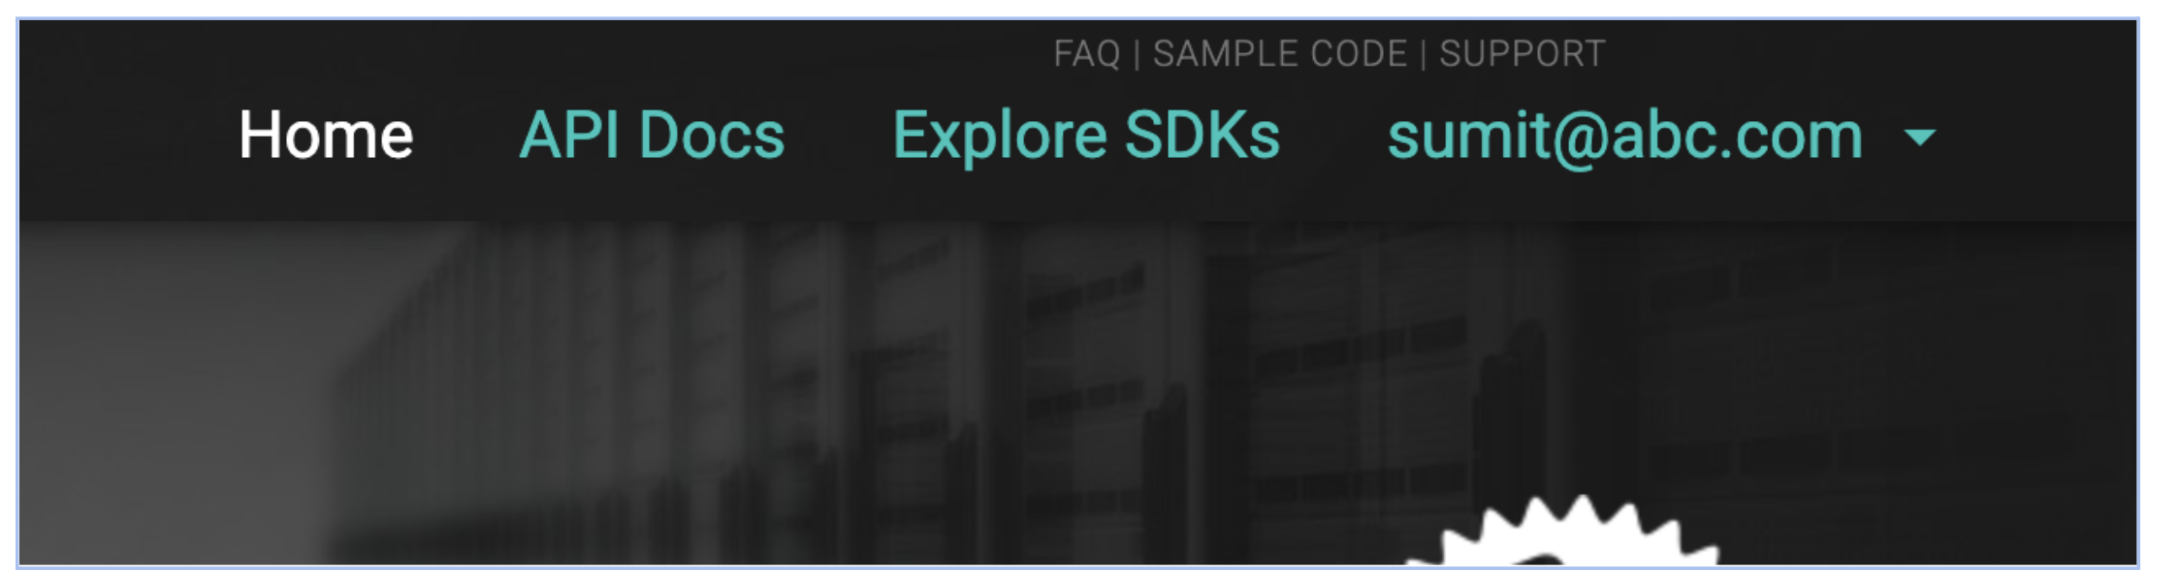
Login to your developer account and click on the drop-down arrow next to your email:
And click on "Apps":
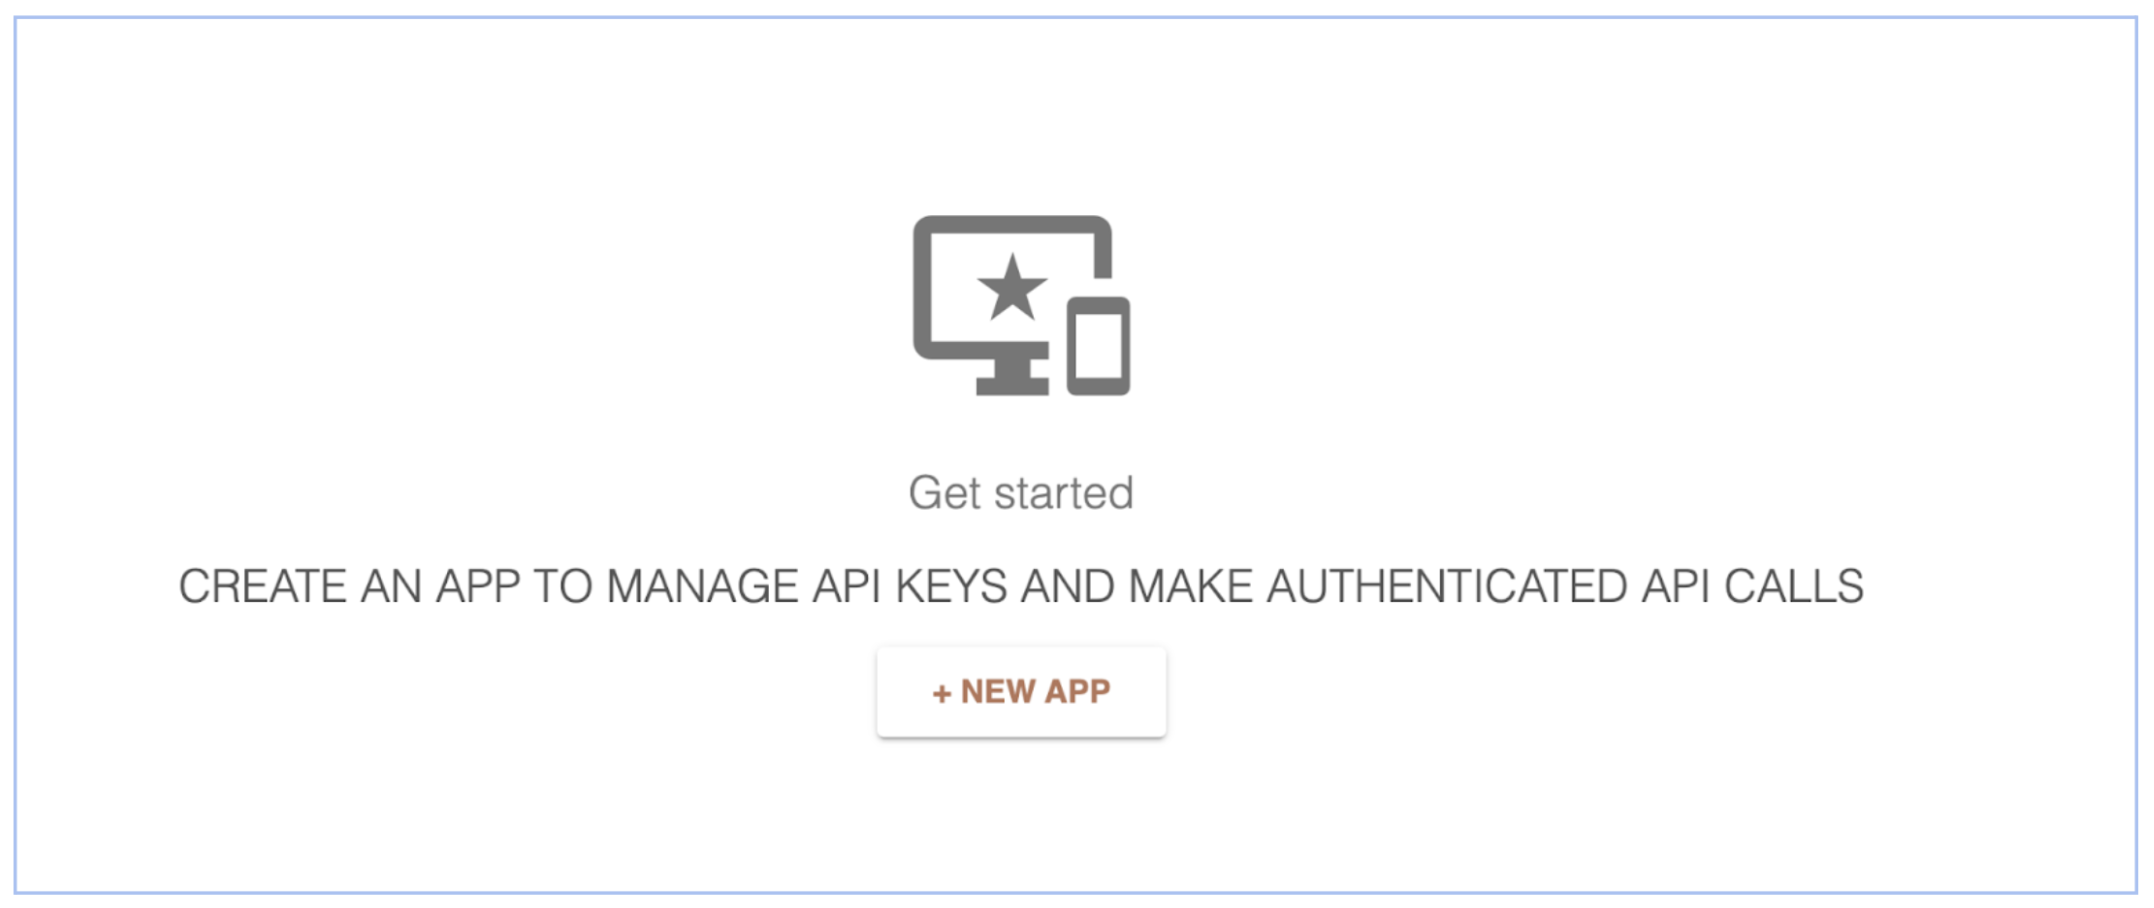
Step 4: Create a New App
Click on New APP to create an application which will provide the API key and Secret.
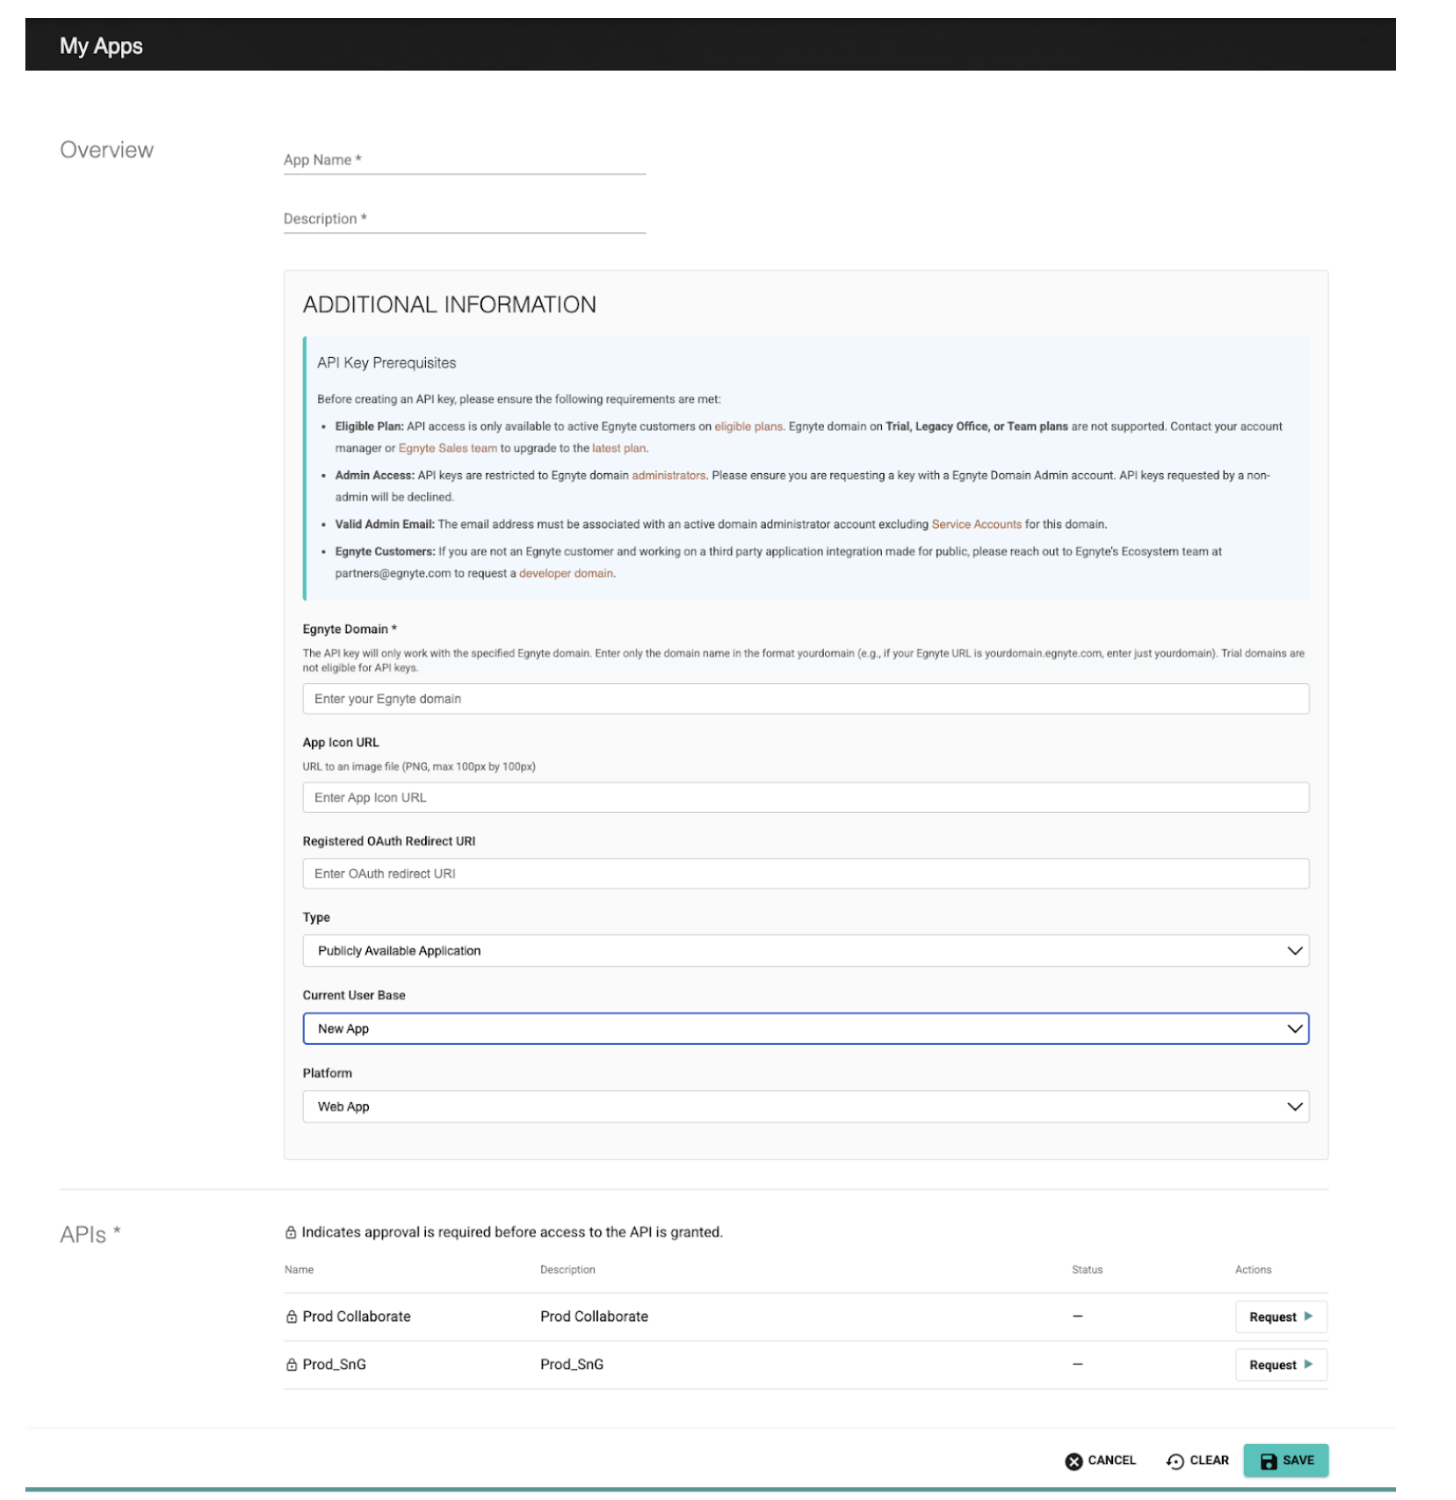
Step 5: Fill in Application Details
Fill the details to request an API key and Secret.
Application Form Fields
| Section | Fields | Description |
|---|---|---|
| Overview | App Name (required) | The App name. |
| Description (required) | The detailed description of the App explaining the use case and implementation plan. | |
| Egnyte Domain (required) | Enter only the domain name in the format yourdomain (e.g., if your Egnyte URL is yourdomain.egnyte.com, enter just yourdomain). Trial domains are not eligible for API keys. | |
| App Icon Url | URL to an image file (PNG, max 100px by 100px) | |
| Registered OAuth Redirect URI | The Redirect URI is a pre-registered URL where the authorization server sends the user (along with a temporary authorization code) after they successfully log in. It acts as a secure "return address" to ensure the sensitive code is delivered only to your specific application and not to a malicious third party. | |
| Type | When registering an application, users will be asked to specify whether the application will be: a Publicly Available Application, or an Internal Application. Select Internal Application if the purpose to write an application is for: own company's internal use, or contracted to create a solution for a single company. Otherwise, select Publicly Available Application. | |
| Current User Base | The current user base of your company. | |
| Platform | Select the right platform | |
| APIs | Prod Collaborate | If you want to generate an API key for Egnyte Collaborate, click on "Request". |
| Prod_SnG | If you want to generate an API key for Egnyte Secure and Govern, click on "Request". |
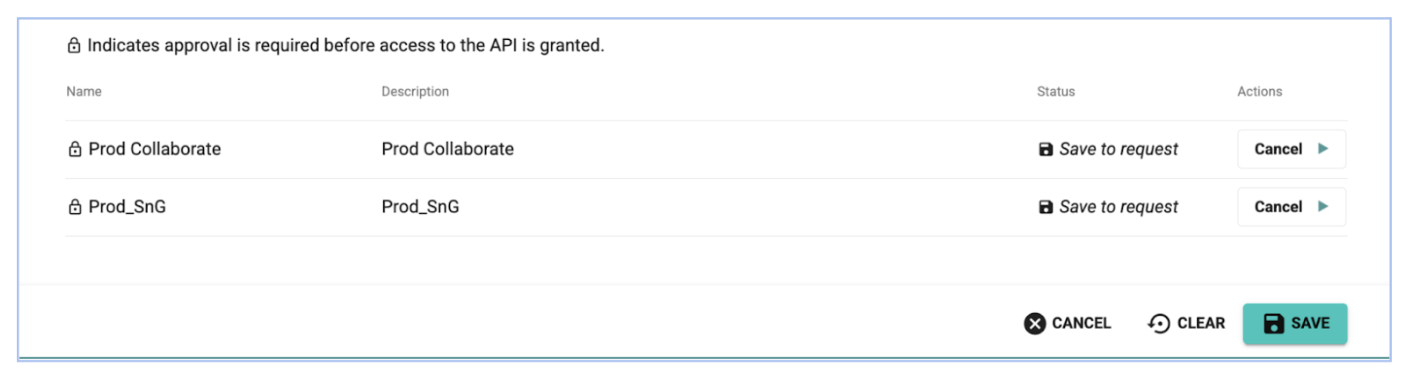
Note: You can generate the API key for both Egnyte Collaborate and Secure and Govern at the same time.
Step 6: Save Your Application
Once you fill the form and request the API key, click Save.
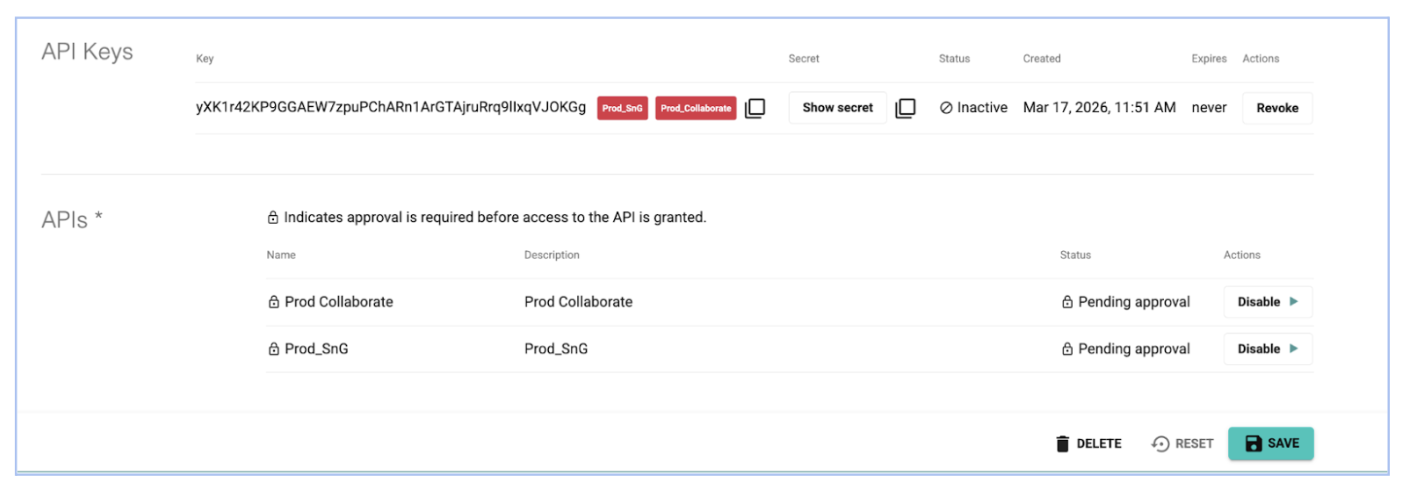
Step 7: View Your API Key and Secret
Now you can see the API and Secret and the status of the API key:
Note: When you create the key the status would be "Pending Approval" and after verification of the request, the status will change to "Active", depending on the prerequisites stated above in the document.
Type of Auth Supported
Egnyte uses the OAuth 2.0 standard for secure authentication. The flow you choose depends on your application type:
- Authorization Code Flow (Recommended): Used for server-side applications. It is the most secure method as it keeps the token hidden from the browser.
- Implicit Grant Flow: Designed for client-side/browser applications (e.g., JavaScript single-page apps).
- Resource Owner Password Credentials (Internal Apps): Used primarily by customers for internal automation. You exchange a user's username and password directly for a token, and the token has that user's permissions. For unattended automation, consider a dedicated user with only the access the automation needs, and note that changing that user's password revokes its tokens.
- Refresh Tokens: Support for obtaining new access tokens without requiring the user to re-authenticate.
Important: Once you have a token, include it in every request header as: Authorization: Bearer <Your_Access_Token>
Token Generation
You need a valid Access Token to make an API call. This token acts like a temporary key, proving your application has permission to access data and perform the operation programmatically.
Egnyte uses the OAuth 2.0 standard. To get started, identify which type of application key you have:
Choose Your Authentication Flow
Depending on your application type, you will use a specific "flow" to get your token:
- Internal Applications: If you are building a tool for your own company, use the Resource Owner flow.
- Public Applications: If you are building an integration for other Egnyte customers to use, use the Authorization Code (most secure) or Implicit Grant flow.
Need a change? If you registered the wrong key type or need to update your domain, email us at api-support@egnyte.com.
Authorization Code Flow
The Authorization Code Flow is the most commonly used OAuth 2.0 flow for server-side applications.
It is designed for applications where:
- API requests are made from a backend server
- Sensitive credentials (like tokens and secrets) can be stored securely
- You want to act on behalf of a user
Step 1: Initiate the Authentication Flow
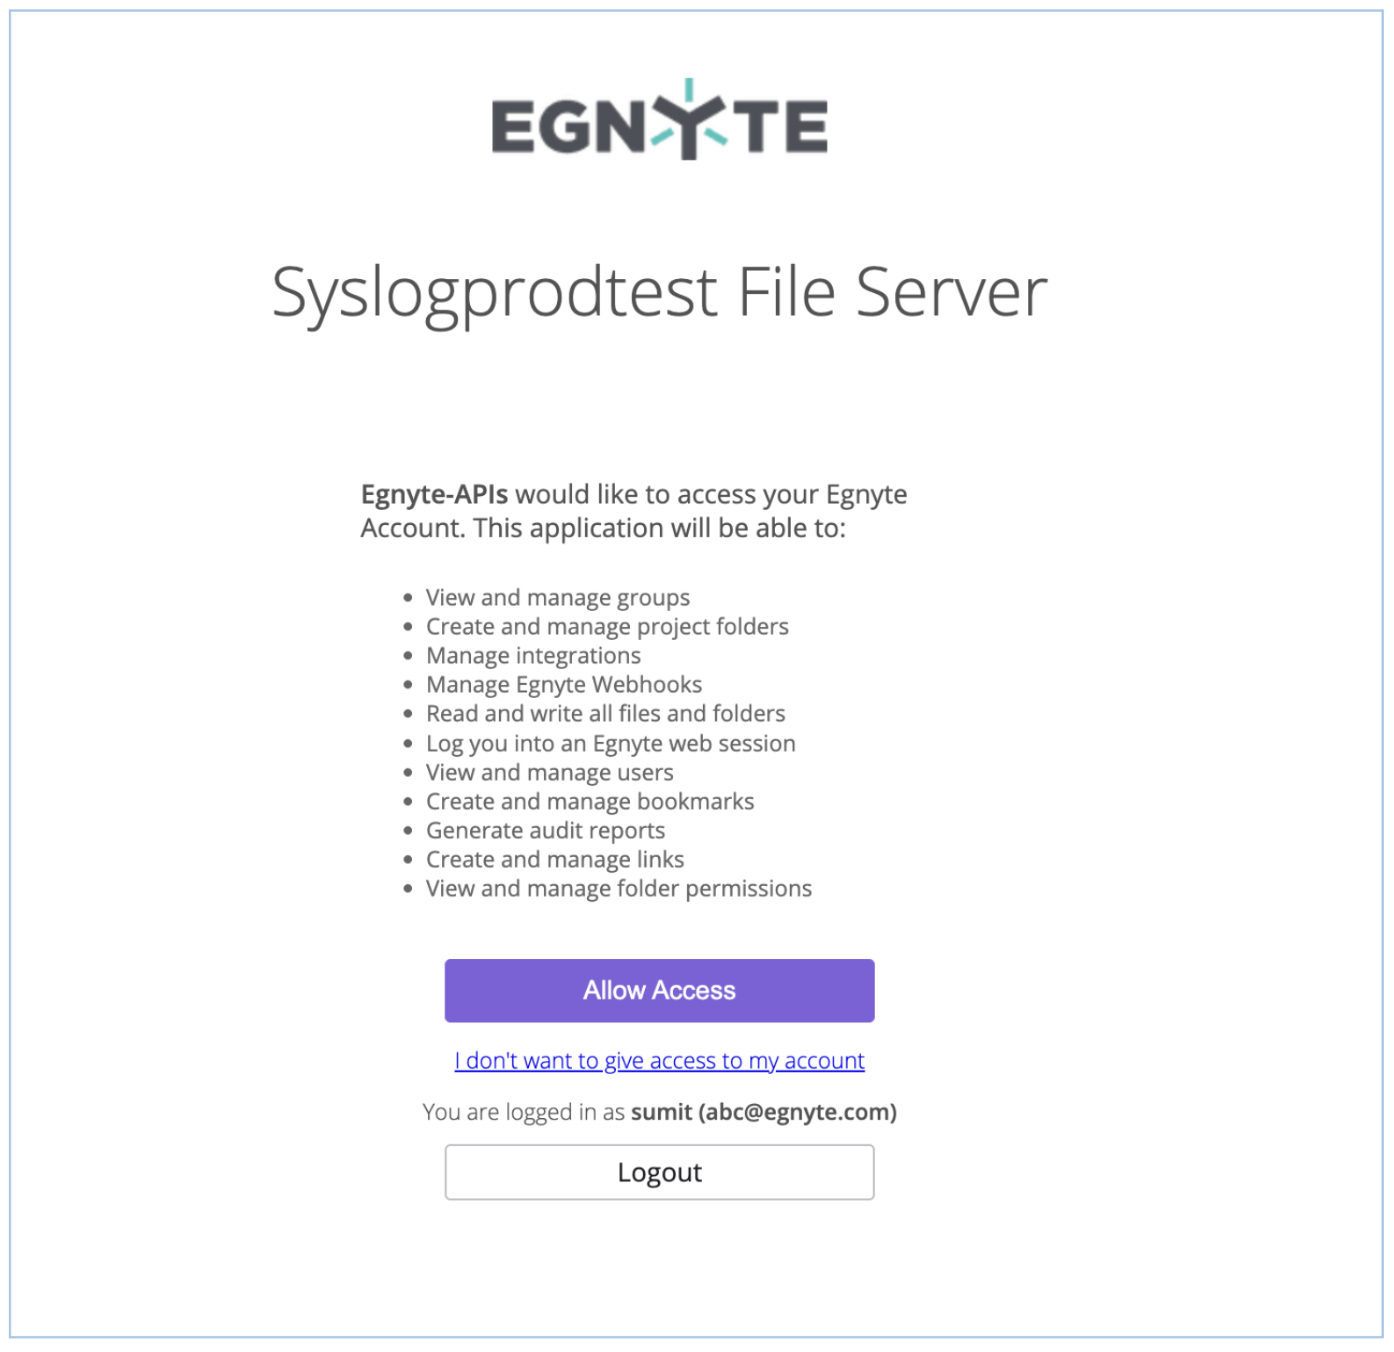
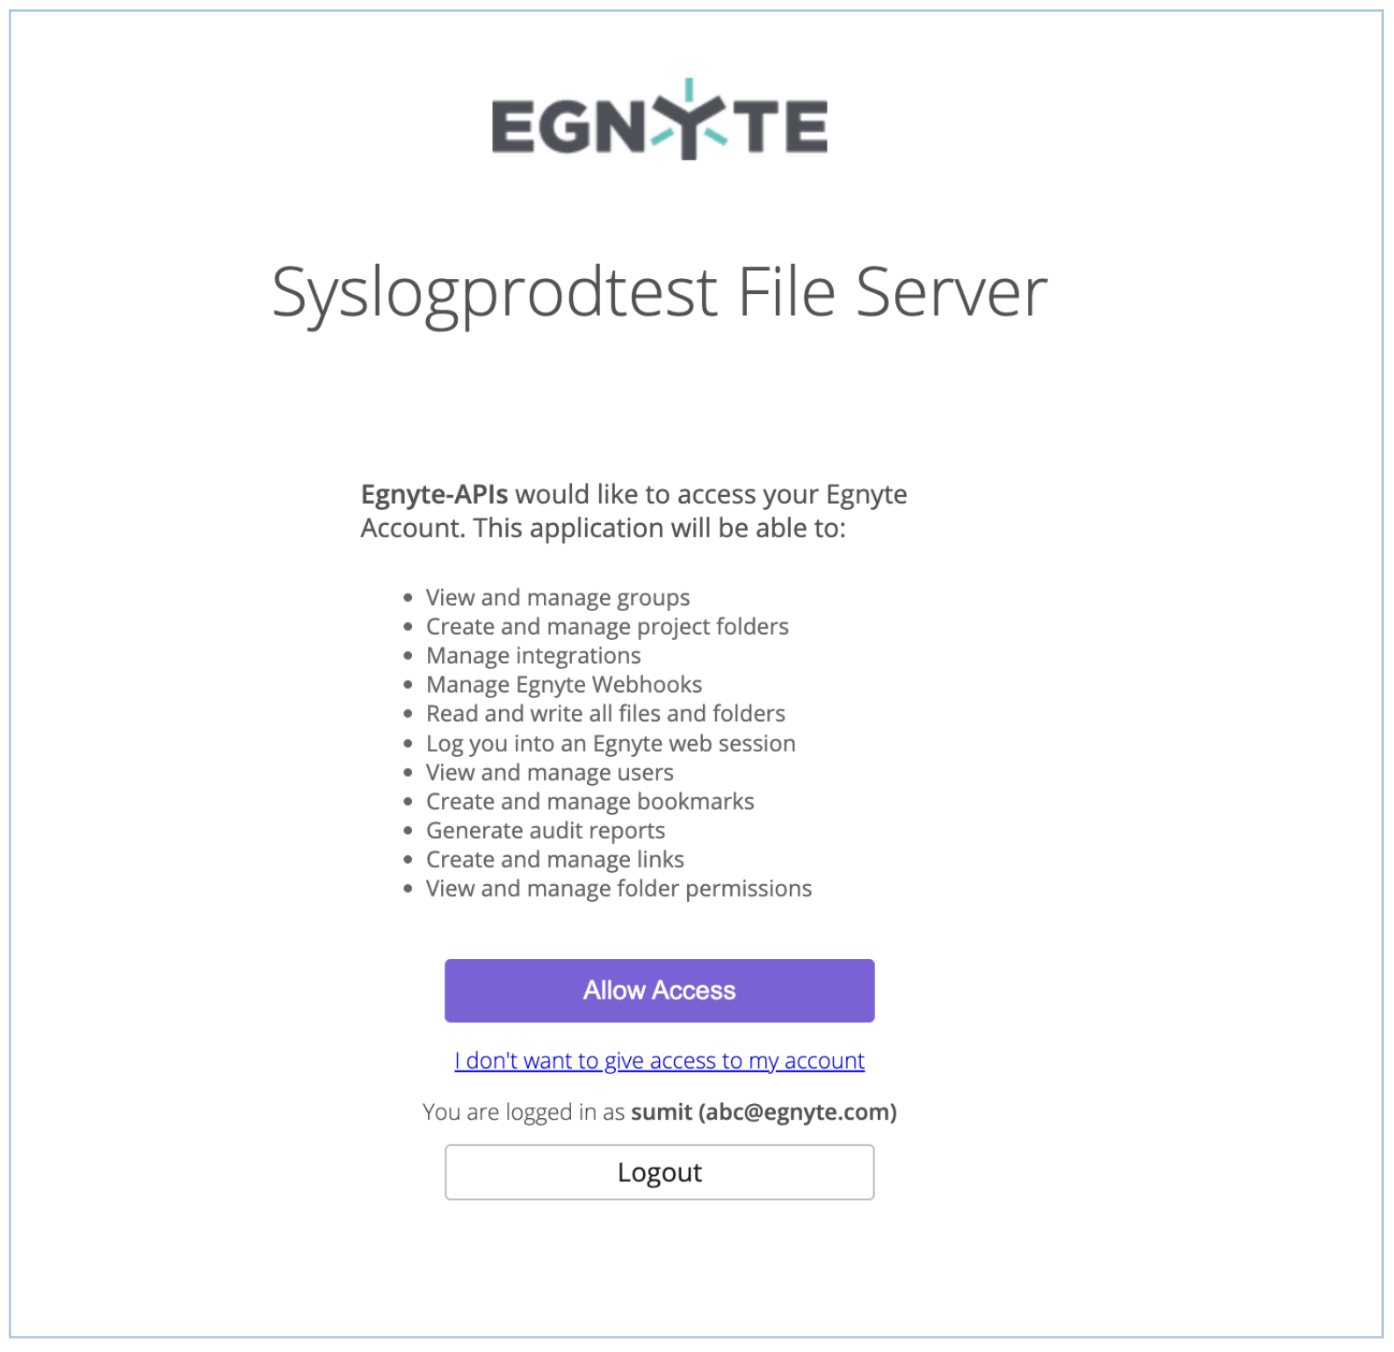
In this step, your application redirects the user to Egnyte's OAuth authorization page. This is where:
- The user logs in
- The user grants permission to your application and clicks on "Allow Access"
Authorization URL:
https://<Egnyte Domain>.egnyte.com/puboauth/token?client_id=<API Key>&redirect_uri=<Callback URL>&scope=<SELECTED SCOPES>&state=<STRING>&response_type=code
Example:
https://apidemo.egnyte.com/puboauth/token?client_id=x2g35g8gynb5cedas649m4h4&redirect_uri=https://yourapp.com/oauth&scope=Egnyte.filesystem%20Egnyte.link&state=apidemo123&response_type=code
Path Parameters
| Variable | Description | Required |
|---|---|---|
| Egnyte Domain | This is the user's Egnyte domain. You will need to prompt the user for the domain name. An example domain name is "acme". Note that initially your API key will only work with the single Egnyte domain you told us you would use for testing. When we approve your completed app, we will remove the domain restriction from the key so that it works with any Egnyte domain. | Yes |
| client_id | This is the API key that was provided to you when you registered your application. | Yes |
| redirect_uri | This is the URL that we will redirect to after the user has allowed or denied your request to access their account. This must be an HTTPS URL and must match the callback URL configured for your key. E.g. "https://yourapp.com/oauth" | Yes |
| response_type | This must be set to "code" for this flow. | Yes |
| scope | Space-delimited list of OAuth Scopes. Although this parameter is optional from a technical standpoint, all third party applications must scope token requests to only the endpoints they need. We will not approve applications for production use unless they properly scope their token requests or demonstrate a valid need for global scope. More details on OAuth Scopes are provided below. | No |
| state | As described in the OAuth 2.0 spec, this optional parameter is an opaque value used by the client to maintain state between the request and callback. The authorization server includes this value when redirecting the user-agent back to the client. The parameter can be used for preventing cross-site request forgery and passing the Egnyte domain as part of the response from the authorization server. | No |
Step 2: Make the Authorization Request
This is a HTTPS:GET call so you need to make this call from your browser, just enter the authorization URL in the browser and hit enter.
Step 3: Receive the Authorization Code
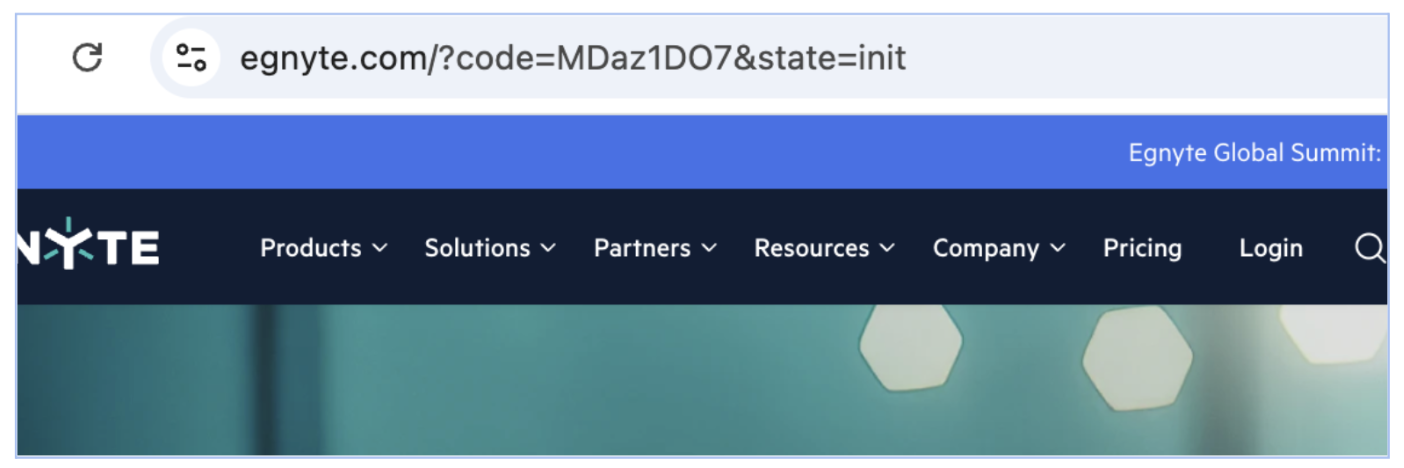
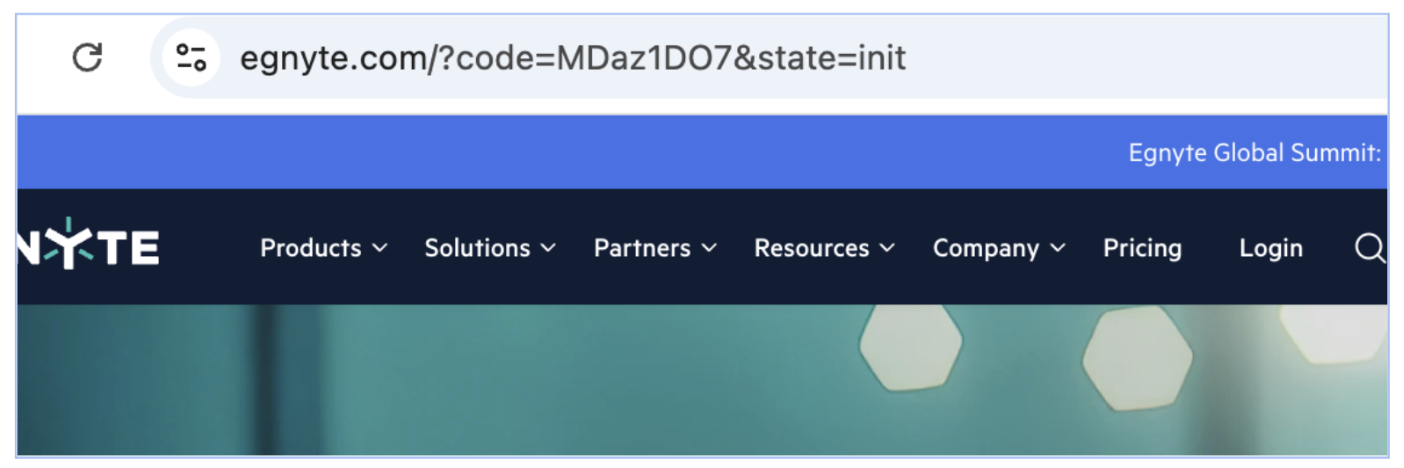
Once you click on "Allow Access", Egnyte redirects them back to your redirect_uri, where you will receive a code in the URL itself.
Step 4: Exchange Code for Access Token
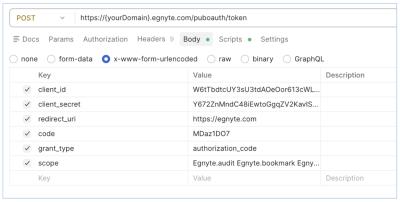
After getting the "code" the next step is to make a HTTPS:POST call using any client to generate the token using the API details below:
API Endpoint: https://<Egnyte Domain>.egnyte.com/puboauth/token
Request Body: application/x-www-form-urlencoded
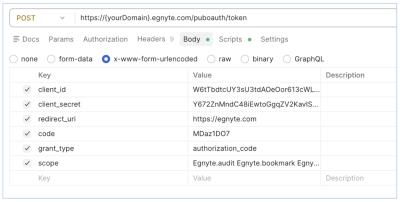
Request Body Parameters
| Variable | Description | Required |
|---|---|---|
| Egnyte Domain | This is the user's Egnyte domain. You will need to prompt the user for the domain name. An example domain name is "acme". Note that initially your API key will only work with the single Egnyte domain you told us you would use for testing. When we approve your completed app, we will issue you a new key that works with any Egnyte domain. | Yes |
| client_id | This is the API key that was provided to you when you registered your application. | Yes |
| client_secret | This is the secret key that was provided with your key to you when you registered your application. If your application key was requested prior to January 2015, please register for a new key to get one with a client secret. | Yes |
| scope | Space-delimited list of OAuth Scopes. It must be the same as you used in the initial call to the authorization server. Although this parameter is optional from a technical standpoint, all third party applications must scope token requests to only the endpoints they need. We will not approve applications for production use unless they properly scope their token requests or demonstrate a valid need for global scope. More details on OAuth Scopes are provided below. | No |
| redirect_uri | This is the callback URL configured for your key. It must be the same as you used in the initial call to the authorization server. | Yes |
| code | The authorization code received from the authorization server in step 2. | Yes |
| grant_type | This must be set to "authorization_code" for this request. | Yes |
Step 5: Receive the Access Token
Once you make the call with all the above parameters, you will receive a token as a response:
Sample Response:
{
  "access_token": "68zc99lfxv959htk3hbnma3q",
  "refresh_token": "46zc95e3xv954ujk3h0gya3f",
  "token_type": "bearer",
  "expires_in": 2592000
}
Note:
- You should persist the OAuth tokens (access and refresh) in your application, rather than making repeated calls to obtain tokens for the same user. Treat the tokens with the same degree of care that you would a saved password.
- Bearer access tokens expire in 30 days. However, if a user changes their password or explicitly revokes access, then a new token will be required. Therefore, your app must be able to deal with 401 authentication failure scenarios and use the refresh token to obtain a new pair of access and refresh tokens.
Make the First API Call
User Information API
You can fetch the details of the user who has generated the token using the Access token via this API call. After making the GET Request, you will get all details in JSON format as Response.
HTTP Method: GET
API Endpoint: https://{yourDomain}.egnyte.com/pubapi/v1/userinfo
Headers
API headers include the mandatory information you send along with the request URL and body. This information helps provide insights into request context and authorization credentials that, in turn, allows access to protected resources.
| Key | Value | Description |
|---|---|---|
| Authorization | Bearer {token} | Credential used by the API to authenticate a user with the server |
Request cURL:
curl -i -X GET "https://{yourDomain}.egnyte.com/pubapi/v1/userinfo" \
     -H "Authorization: Bearer YOUR_ACCESS_TOKEN"
Response:
{
  "id": 12,
  "first_name": "egnyte",
  "last_name": "developer",
  "username": "egnytedev",
  "user_type": "admin",
  "email": "api-support@egnyte.com"
}
API Limits
Customers' use of the Egnyte Platform is subject to certain usage caps, limitations, and restrictions, which differ from plan to plan and are described below.
API Call Limits by Plan Family
| Plans | Calls Per Second | Calls Per Day | Calls Per Month |
|---|---|---|---|
| Business/Essentials | 2 | 1,000 | 30,000 |
| Enterprise Lite/Elite | 2 | 2,000 | 60,000 |
| Enterprise/Ultimate | 2 | 4,000 | 120,000 |
Excludes calls from Egnyte applications. Additional calls can be purchased by contacting Egnyte API Support.
For more information on best practices, kindly check here.
Egnyte Sandbox
Note: Before building an application using the Egnyte Public API, a development environment and an API key will be required.
Request a Developer Domain
Egnyte can provide a free development domain for the ones working on a third-party application integration made for public use.
To request a development domain, contact Egnyte's Ecosystem team and ask to be provided a developer domain.
Customers or users working on a third-party integration for a specific domain or customer can reach out to the relevant account team to request a developer domain.
Please note the following rules for development domains:
- Development domains should not be used for purposes other than application development.
- These domains may be audited and purged from time to time.